7.nes 模拟器模拟手柄
NES 和 Famicom 支持多种控制器:
- 手柄
- 电源垫
- 光枪灭霸
- 打砖块控制器
- 甚至键盘
我们将模拟手柄,因为它是最常见和最容易模拟的设备
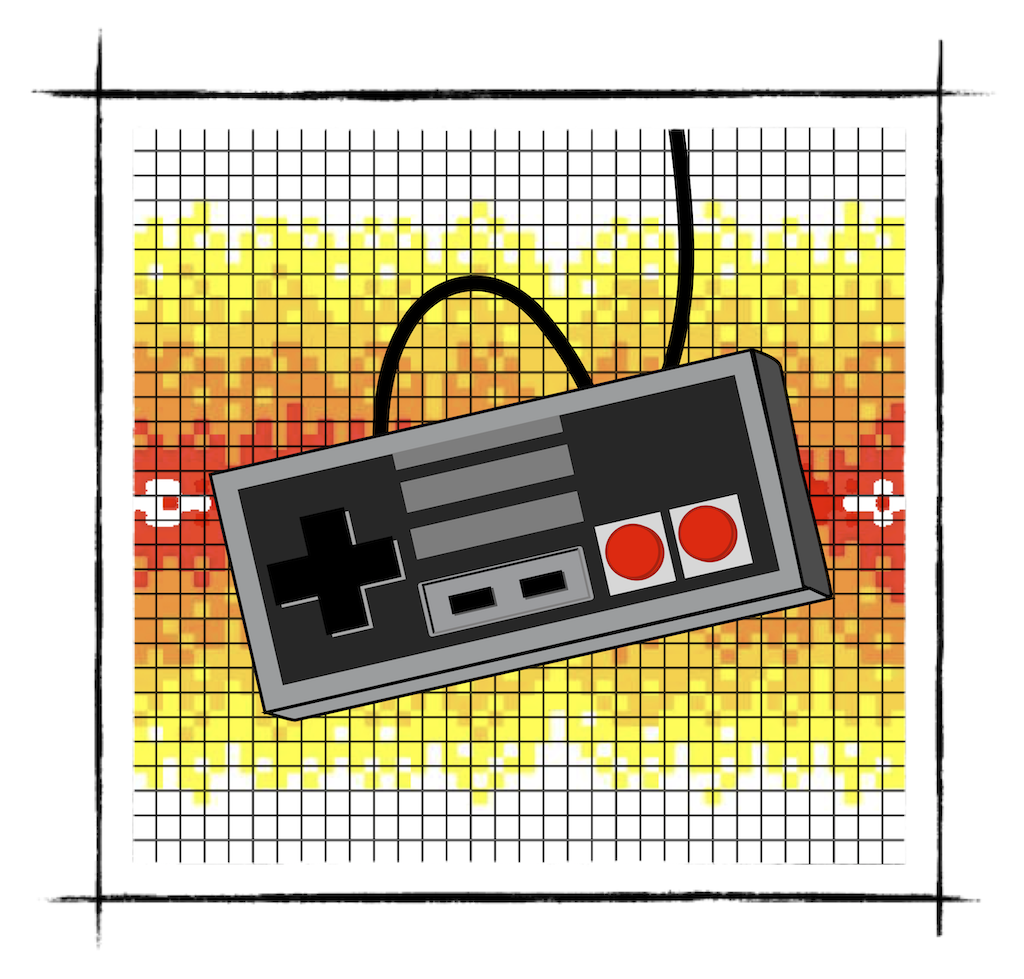 两个手柄分别映射到0x4016和0x4017 CPU 地址空间。同一个寄存器可用于读取和写入。从控制器读取报告按钮的状态(1 - 按下,0 - 释放)。控制器一次报告一个按钮的状态。为了获得所有按钮的状态,CPU 必须读取控制器寄存器 8 次。
上报Button的顺序如下:
两个手柄分别映射到0x4016和0x4017 CPU 地址空间。同一个寄存器可用于读取和写入。从控制器读取报告按钮的状态(1 - 按下,0 - 释放)。控制器一次报告一个按钮的状态。为了获得所有按钮的状态,CPU 必须读取控制器寄存器 8 次。
上报Button的顺序如下:
A -> B -> Select -> Start -> Up -> Down -> Left -> Right在报告按钮 **RIGHT **的状态后,控制器将连续返回 1 用于所有后续读取,直到频闪模式发生变化。 CPU 可以通过向寄存器写入一个字节来改变控制器的模式。但是,只有第一位很重要。 控制器以 2 种模式运行:
- 位选通打开 - 控制器在每次读取时仅报告按钮 A 的状态
- 位选通关闭 - 控制器循环通过所有按钮 因此,读取 CPU 手柄状态的最基本循环:
- 将0x1写入0x4016(位选通模式开启 - 将指针重置为按钮 A)
- 将0x00写入0x4016(位选通模式关闭)
- 从0x4016读取八次
- 重复 好的,让我们把它画出来。 我们需要 1 个字节来存储所有按钮的状态:
bitflags! {
// https://wiki.nesdev.com/w/index.php/Controller_reading_code
pub struct JoypadButton: u8 {
           const RIGHT             = 0b10000000;
           const LEFT              = 0b01000000;
           const DOWN              = 0b00100000;
           const UP                = 0b00010000;
           const START             = 0b00001000;
           const SELECT            = 0b00000100;
           const BUTTON_B          = 0b00000010;
           const BUTTON_A          = 0b00000001;
       }
}
我们需要跟踪:
- 位选通模式 - 开/关
- 所有按钮的状态
- 要在下一次读取时报告的按钮的索引。
pub struct Joypad {
   strobe: bool,
   button_index: u8,
   button_status: JoypadButton,
}

impl Joypad {
   pub fn new() -> Self {
       Joypad {
           strobe: false,
           button_index: 0,
           button_status: JoypadButton::from_bits_truncate(0),
       }
   }
}
然后我们可以实现对控制器的读写:
impl Joypad {
//...

   pub fn write(&mut self, data: u8) {
       self.strobe = data & 1 == 1;
       if self.strobe {
           self.button_index = 0
       }
   }
   pub fn read(&mut self) -> u8 {
       if self.button_index > 7 {
           return 1;
       }

       let response = (self.button_status.bits & (1 << self.button_index)) >> self.button_index;
       if !self.strobe && self.button_index <= 7 {
           self.button_index += 1;
       }
       response
   }
}
不要忘记将手柄连接到 BUS 并将其映射到地址 0x4016。 最后一步是调整我们的游戏循环以根据主机上按下或释放的键盘按钮更新游戏手柄的状态:
fn main() {
//... init sdl2//... load the game
   let mut key_map = HashMap::new();
   key_map.insert(Keycode::Down, joypad::JoypadButton::DOWN);
   key_map.insert(Keycode::Up, joypad::JoypadButton::UP);
   key_map.insert(Keycode::Right, joypad::JoypadButton::RIGHT);
   key_map.insert(Keycode::Left, joypad::JoypadButton::LEFT);
   key_map.insert(Keycode::Space, joypad::JoypadButton::SELECT);
   key_map.insert(Keycode::Return, joypad::JoypadButton::START);
   key_map.insert(Keycode::A, joypad::JoypadButton::BUTTON_A);
   key_map.insert(Keycode::S, joypad::JoypadButton::BUTTON_B);// run the game cycle
   let bus = Bus::new(rom, move |ppu: &NesPPU, joypad: &mut joypad::Joypad| {
       render::render(ppu, &mut frame);
       texture.update(None, &frame.data, 256 * 3).unwrap();
       canvas.copy(&texture, None, None).unwrap();
       canvas.present();

       for event in event_pump.poll_iter() {
           match event {
               Event::Quit { .. } | Event::KeyDown {
                   keycode: Some(Keycode::Escape),
                   ..
               } => std::process::exit(0),
               Event::KeyDown { keycode, .. } => {
               if let Some(key) = key_map.get(&keycode.unwrap_or(Keycode::Ampersand)) {
                       joypad.set_button_pressed_status(*key, true);
                   }
               }
               Event::KeyUp { keycode, .. } => {
               if let Some(key) = key_map.get(&keycode.unwrap_or(Keycode::Ampersand)) {
                       joypad.set_button_pressed_status(*key, false);
                   }
               }
               _ => {/* do nothing */ }
           }
       }
   });//...
}
我们在这里。现在我们可以使用键盘玩 NES 经典。如果您想获得一点极客乐趣,我强烈建议您在亚马逊上购买原始 NES 控制器的 USB 副本。
我不隶属,我有这些
SDL2完全支持摇杆,只需在游戏循环中稍作调整,即可拥有近乎完美的NES体验。
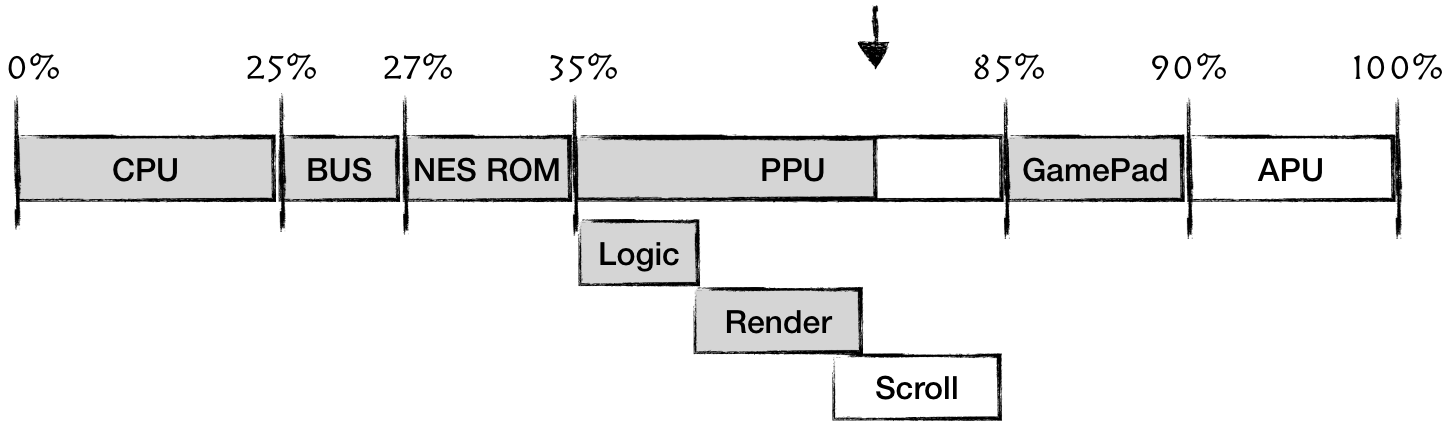
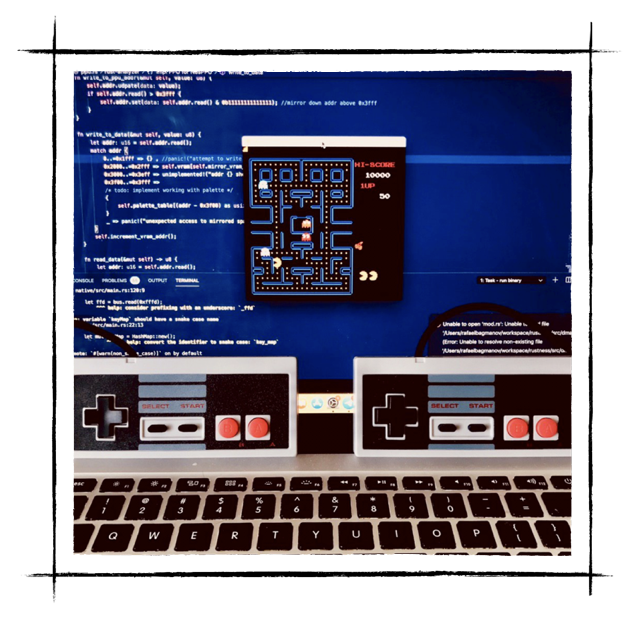 好的,我们在这里取得了相当大的进步。剩下的两个主要部分是:
- 支持滚动 - 我们将使游戏成为平台游戏。
- 音频处理单元——让那些甜蜜的 NES 芯片回到我们的生活中。
本章完整源代码:GitHub